Visar inlägg med etikett friday tutorial. Visa alla inlägg

fredag 30 mars 2012

The Friday Tutorial

An Easter flower arrangement
Are you having dinner guests at Easter? Why not impress them with a flower arrangement on the dinner table. It’s dead easy really ! I made two…but I will show you the other one next Friday.


You need:
Twigs, tulips – I used birch, apple tree and parrot tulips (my favourite). You also need oasis and something to build your arrangement in. I used an old tin bowl, a jumble sale find.


First soak the oasis in water and then place it in the bowl.


Add twigs around the rim of the bowl.


Then add tulips in-between the twigs.
I always use an uneven number; I think it looks better that way.


Finish the arrangement by placing one tulip in the middle of the bowl and four tulips around it. Keep the first one a bit taller than the other four to get a variation in height. Finally add a few more twigs but this time in a more upright position.


Done! I think it will look stunning once the tulips are in full bloom and the twigs has got tiny little leaves.


Now I leave you for the weekend. Hope you have a creative one!

Jeanette


PS If you look closely at the last photo you can see the pillow cover I made using celery. The turorial from two Fridays back.

fredag 23 mars 2012

The Friday Tutorial

Sock Bunny
My family suffers from the SdSE-syndrome. That’s the Spin-dryer Sock Eating syndrome for you who didn’t know. We are quite convinced that the fluff you find when you clean the spin-dryer in fact are not fluff but leftovers from the tiny munching little aliens that hides in your spin-dryer and lives of eating socks. They are picky little buggers though and never eats two of the same kind leaving you with lots of ill matched socks. This is when your glass is either half full or half empty. Since mine is usually half full I enjoy the fact that this opens up lot of opportunities for making sock bunnies.

I think there are just as many ways of making sock bunnies as there are socks but this is how I do it:


You need two socks, a scissor, needle and tread and some stuffing. I use wool but you can use pretty much anything you like.


Cut the foot of one of the socks right down the middle, but don’t cut all the way to the heel. This will make the ears.


Cut the other side of the sock down the middle. This will become the legs.


Cut the foot off the second sock and divide it in two by cutting it right down the middle. This will become the arms.


Turn the bunny body inside out and sew the ears and legs together. Leave a hole in the crotch for turning it right side out again and for stuffing.


Stuff the bunny’s body and legs. I usually don’t stuff the ears because I like them floppy. Many people use the “heel-side” of the sock for the face but I like to use the heel for making a bunny bottom instead. That way it sits much steadier. Fill the arms with stuffing too, not to tight. 


Use a tiny ball of stuffing and to shape the nose.


Sew the hole together.


Shape the neck and head by tying a ribbon around the neck. The sew the arms to the body just below the ribbon.


Then make the face. I used fabric markers but you can do some embroidery or have buttons for eyes if you like.


Tadah – done! Meet Sally the sock bunny !


Now I leave you for the weekend. Hope you have a creative one!
 Jeanette


fredag 16 mars 2012

The Friday tutorial

Playing with food

Did your mum tell you not to play with your food as a kid? Well here is your revenge. Who could have known that the celery stem looked like the perfect image of a rose? and that you can use it as a stamp? I didn’t anyway. I got the tip and a tutorial in this magazine.


Bonnier 101 Ideér Nr 1 2012

They used celery to stamp on paper but I went for fabric instead. I really had a lot of fun and like to chare it with you all. Here is how I did it:

You need: fabric, fabric paint, a brush and celery.


Cut the stem off the celery.


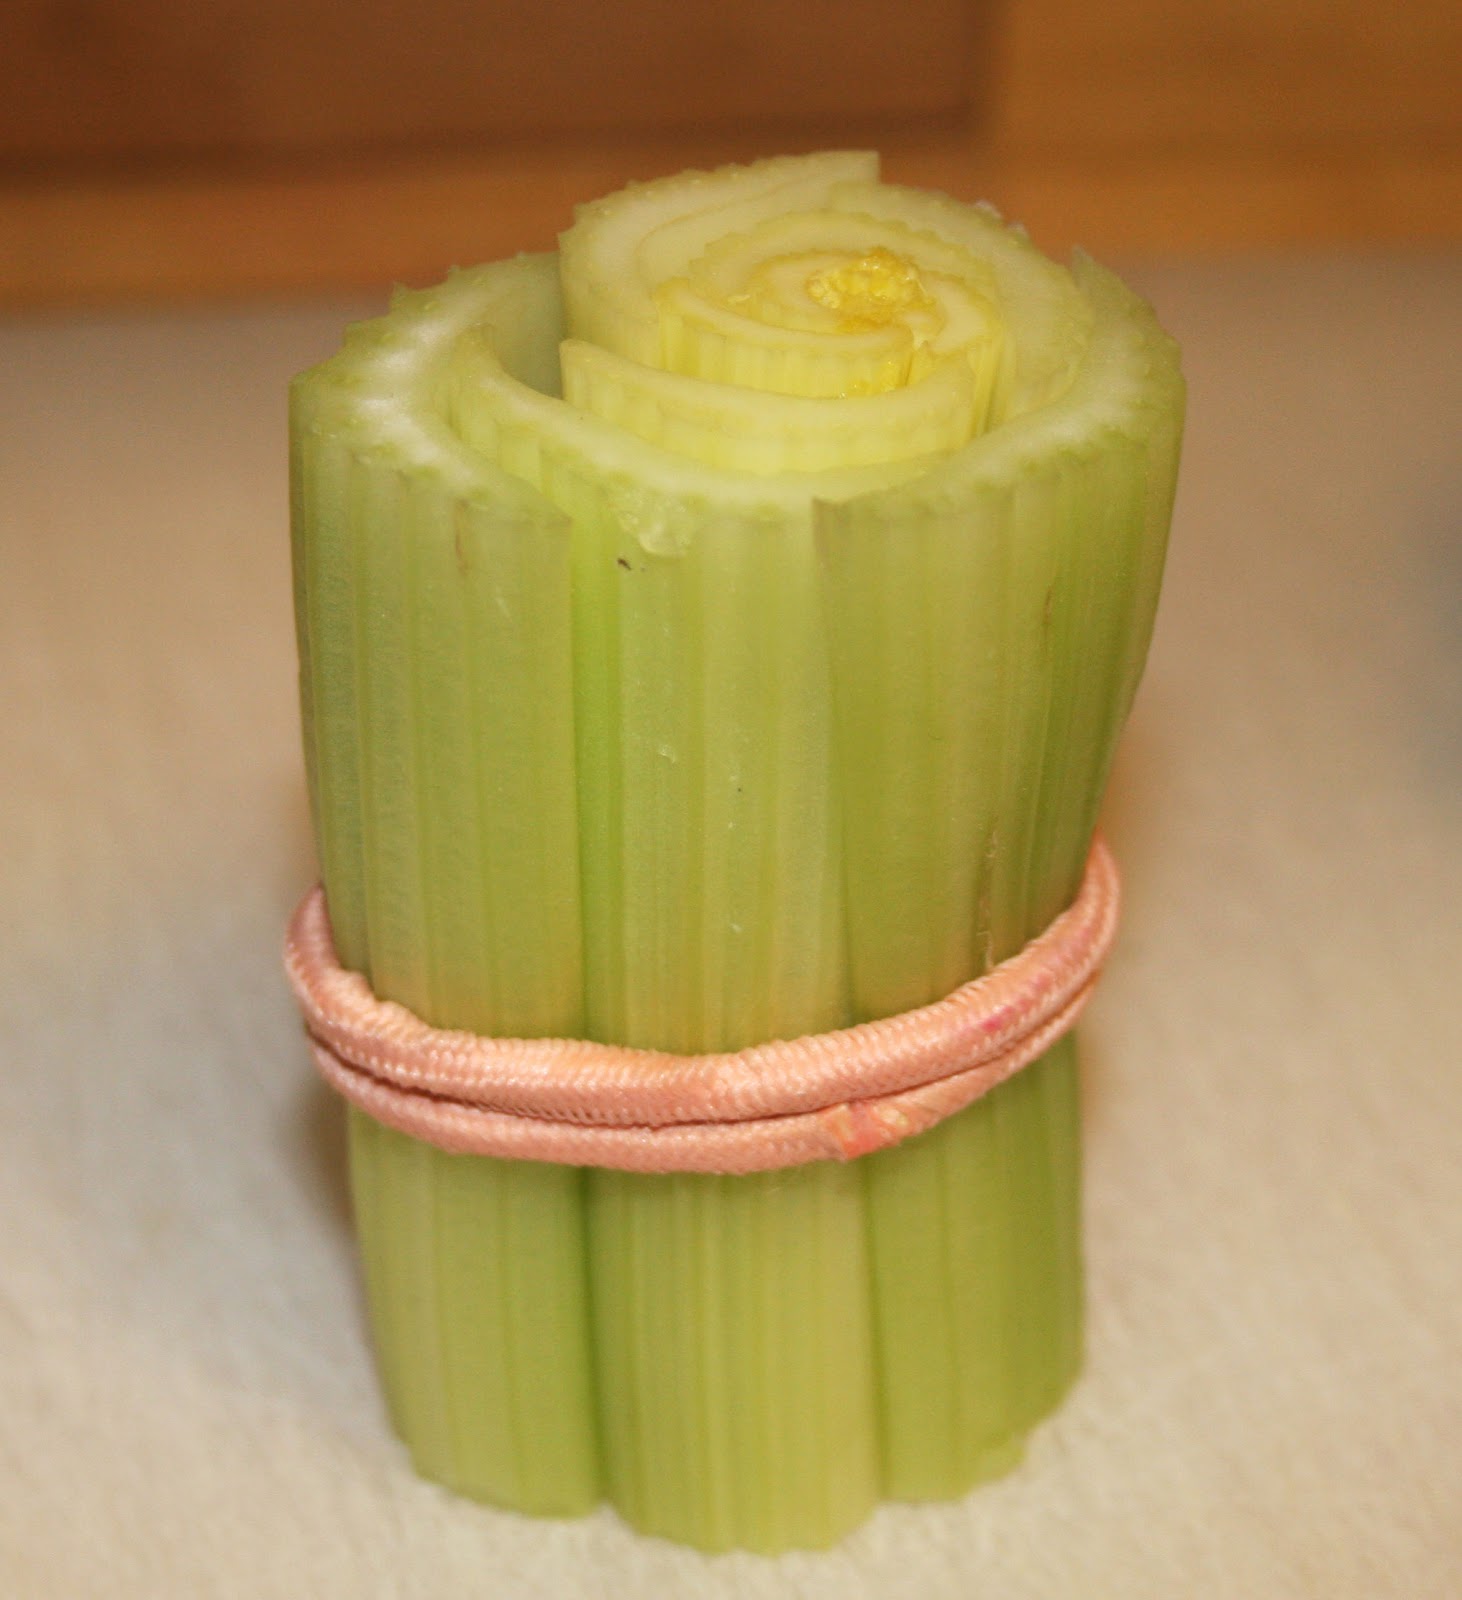
I wanted both a big and a small rose so I cut one piece quite near the end and one piece higher up. The smaller piece didn’t hold together so I secured it with a rubber band.


Add paint to the celery using a brush. Now doesn’t that look exactly like a rose? Amazing!


Start stamping!

I didn’t get as clear an image as I thought I would. I think it’s because my celery had spent a while in the refrigerator and was a bit soft. It would probably have worked a lot better with a really fresh one.


I ended up making a “spring lady” . She looks like she is wearing gigantic Carmen curlers more than roses but what the heck. I think I will use it for a pillow cover.


Well, I knew it as a kid and I know it now – playing with your food is fun!


Now I leave you for the weekend. I hope you have a creative one!

Jeanette

fredag 9 mars 2012

The Friday Tutorial

Recycled Easter egg bunny


When the candy is all eaten I always save the Easter eggs. I never remember where I put them though so each Easter I end up buying new ones anyway. But if I find an old one then the two halves usually don’t fit and I throw it away. Yesterday as I was looking through one of my kitchen cupboards I found an old Easter egg hidden at the back….and what do you know the halves didn’t fit. Standing there and looking at it I suddenly got an idea…how about making an Easter bunny mask to hang on the wall.

This is how I did.

I painted the two halves with white acrylic paint.


I printed some different women faces until I found one with an OK shape and size. I glued it to the egg.


Then I cut out a pair of bunny ears on aquarelle paper.


I glued the ears to the back of the “mask”.


I added a tiny bunny nose ( printed that one too) and a touch of red to the cheeks and mouth. I also painted the ears with white acrylic paint so they would get the same color as the rest of the egg.


Tadahh here she is!


For Easter I think she will get a blue ribbon.


It was so easy and fun! Can’t wait to make the other one too….might make it without a bunny nose though....not quite satisfied with how it looked....but now I will leave you for the weekend. I hope you have a creative one.

Jeanette


fredag 2 mars 2012

The Friday Tutorial

Soda can wreath


Swedish tin cans are rather boring. Not like anything you can buy in Asia or America.- color wise I mean. Swedish tin cans have nice paper labels but once the label has come off they all look the same silver metallic. That’s one of the reasons why I like to work with soda cans. They come in all kind of colors and patterns and not only that, they are so soft that you can cut them with a pair of ordinary scissors. Another good thing with soda cans is that you don’t get those awful sharp edges. Working with ordinary tin cans sometimes makes you think you are making Brazilian throwing stars…..

I like flowers and I like soda cans so today I`ll show you how to make a flower wreath out of soda cans.  You will need: soda cans, a pair of scissors, wire, tiny baking tins and pearls.

Fist you make a circular frame for the wreath using wire. Make it the size of your choise.

Then cut up the soda cans in one side with your scissor and then cut the bottom and top off. Now you have a sheet of metal instead of a can. Cut out flowers in diferent sizes and shapes. If you want to you can use a template and trace it to the back of the can before you start cutting.


Then put a small flower on top of a bigger one and continue adding layers of flowers until you are satisfied with the look.


Now you need to secure the layers. Tread a piece of wire through a pearl and twist the wire round the pearl.


Make a tiny hole through all the layers, stick the wire through the hole with the pearl facing the front side and the rest of the wire sticking out from the back.


Secure the flower to the frame using the wire sticking out from the back of the flower. Continue adding flowers to the frame until your wreath is completed. As you can see I used tiny baking tins as well as soda cans.


I promise you this wreath will never wither

Now I leave you for the weekend. Hope you have a creative one!

Jeanette

fredag 24 februari 2012

The Friday Tutorial

"En textil hyllning" - recycled clothes
This week I haven’t a tutorial of my own for you. I am sitting in the Swedish alps remember. Not much stuff to do a tutorial from up here I can tell you….. if you don’t count building snow men of course. So why don`t you go visit this great and very inspirational home page instead. It has some really lovely ideas on how to recycle clothes. It`s written in Swedish but has very good drawings and photos so I think you will get the patterns and "how to" anyway. You can download the patterns right at the bottom of the homepage.  

I am definitely making this one

Photo by Hanna Hallén


Now I leave you for the weekend. Hope you have a creative one!
Jeanette


fredag 17 februari 2012

The Friday Tutorial

Brooch for a knit-o-holic
What better way to finish my week of knits than by making something that states to the public that you are a knitter - a brooch for a knit-o-holic of course!

You need: Thin yarn and very thin knitting pins. You also need Elephant wire 1,5 mm, two pearls, a brooch needle and maybe some glue.


Start with a bit of knitting. Make it as long and wide as you like.


Cut the wire in two pieces long enough to fit you tiny little knitting.
Add the pearls to the end of the wire. You might need a drop of glue inside the pearl to make them stick.
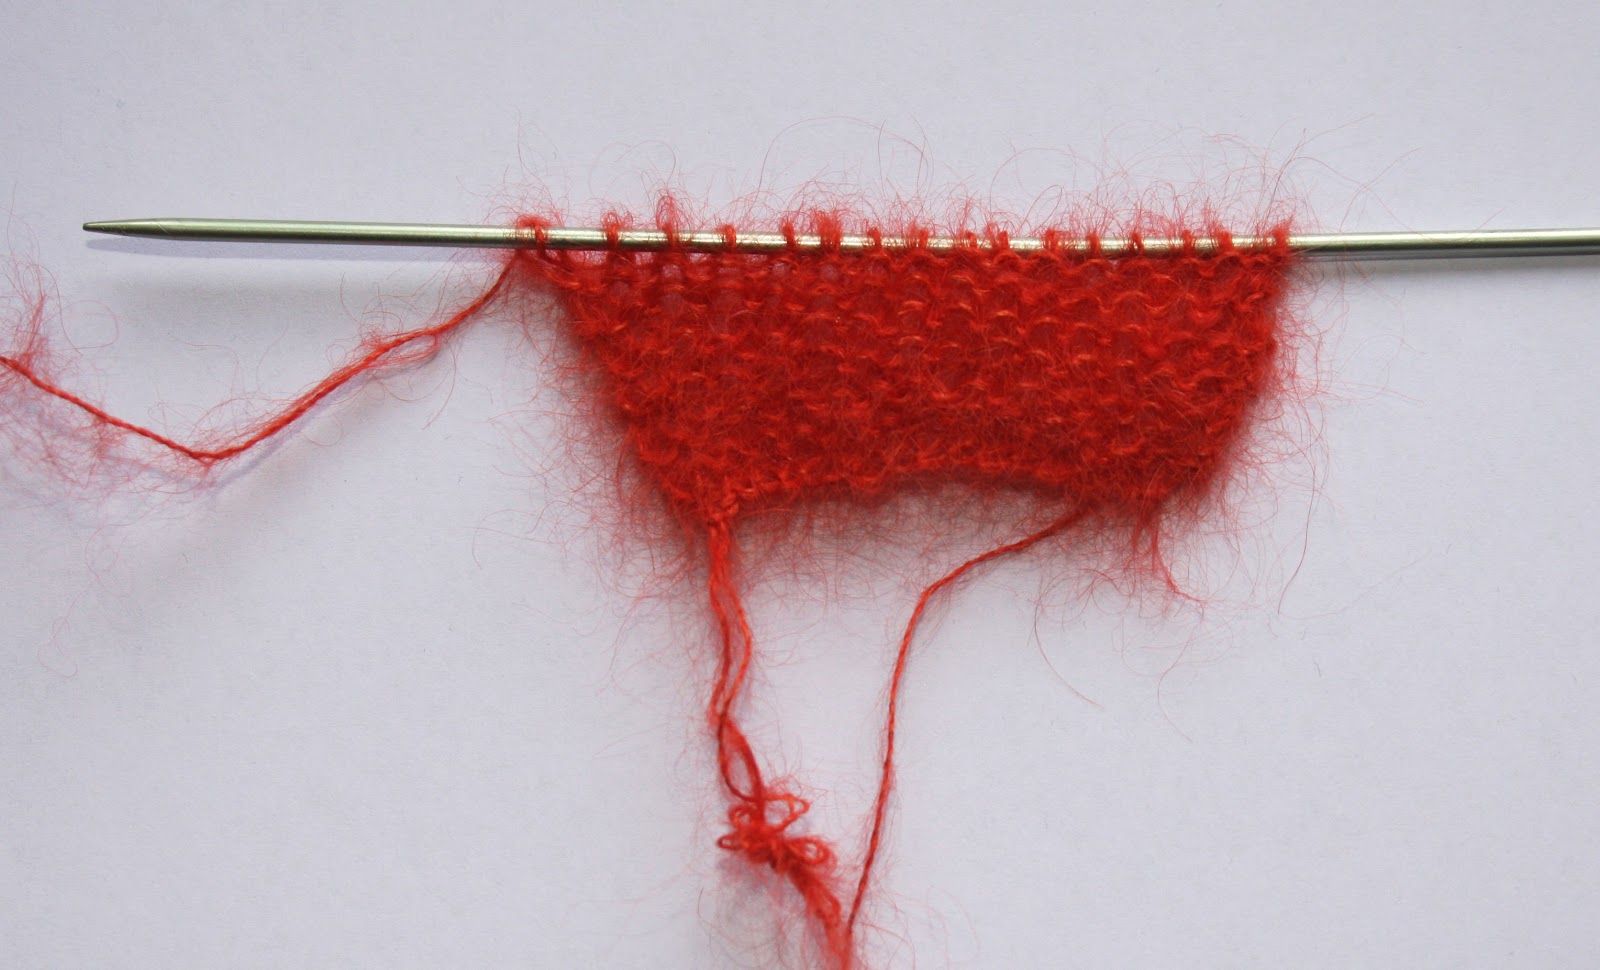

I also made a tiny ball of yarn as to resemble an on going knitting project.


Transfer the knitting to the wire knitting pins.


Add a brooch needle to the back of the knitting and you are ready to show the world what a great knitter you are :-)


Now I leave you for the weekend. Hope you have a creative one!
Jeanette

fredag 10 februari 2012

The Friday Tutorial

Tin can flower pot
I love tin cans as you may know by now! I have a big collection and use them often in my creative work. Today I was dreaming about spring flowers ( it`s snowing outside...) and that gave me a great urge to create a flower pot. From a tin can of course.... Some of my collection....

You need: A tin can (of course), a heavy duty nibbler for dismantling the tin can and a not so heavy duty flush cutter for cutting out the pattern. You also need a sanding paper.

1. Make a template. I made a crown.


2. Trace your template to the tin and cut it out. Use your sanding paper to soften the edges.


3.Paint your tin in any color you like. Depends a bit on the flowers you are going to put in it I guess. If you want to you can paint it on the inside too.


4.Decorate you tin. I used printed photos and decoupage glue. I also glued on some text. If you plan on giving it away you can personalize it to fit the receiver.


Just plant some flowers in it and voila - finished. I plan to put some spring bulbs in mine.

Now I leave you for the weekend. Hope you have a creative one!

Jeanette